Have you tried making Criss Cross Cards? They are fun and surprisingly easy to make so let me show you how.
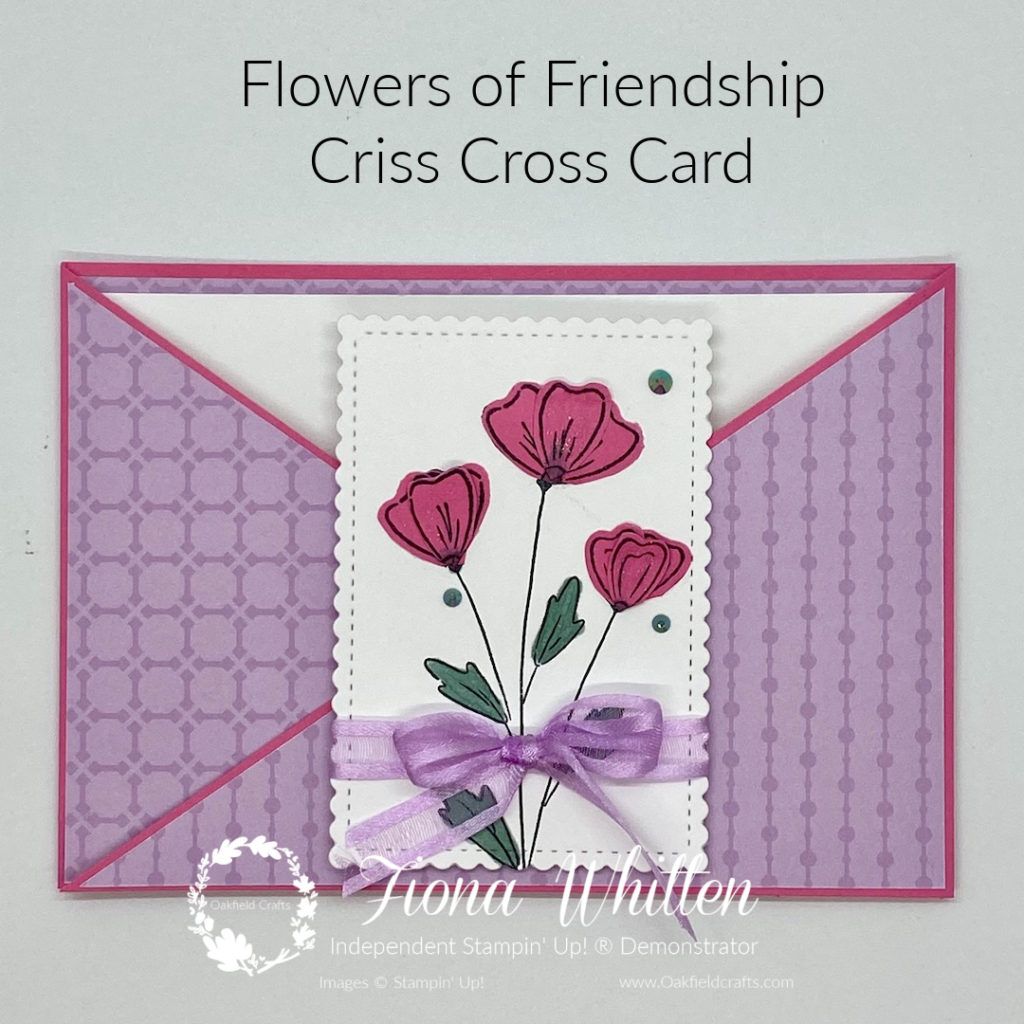
Criss Cross cards can be either landscape or portrait and although the original cutting and scoring instructions are different (only the measurements) the actual technique is the same.
Landscape criss cross cards
- Coloured Card Stock (I used Polished Pink) – 2 lots of 10.5 x 29.7 cm both pieces scored and folded in half at 14.9 cm
- First piece – cut diagonally from top of score line to bottom right corner.
- Second piece – cut diagonally from top of score line to bottom left corner.
- Adhere one inside the other so that the two points are on the outside – make sure that you keep within the score line so that the card can be folded.
- Double-sided paper (I used Fresh Freesia)
- 1 lot of 10.0 x 14.4 cm for glueing inside the card
- 1 lot of 10.0 x 13.9 cm which is then cut diagonally. Each triangle is then glued to the triangles that fold over to create the card front. Note – you will need to use the reverse side for one of the triangles.
- Basic White card stock
- 1 lot of 9.5 x 13.9 cm for inside the card
- Additional card stock to create focal point for the front of the card.
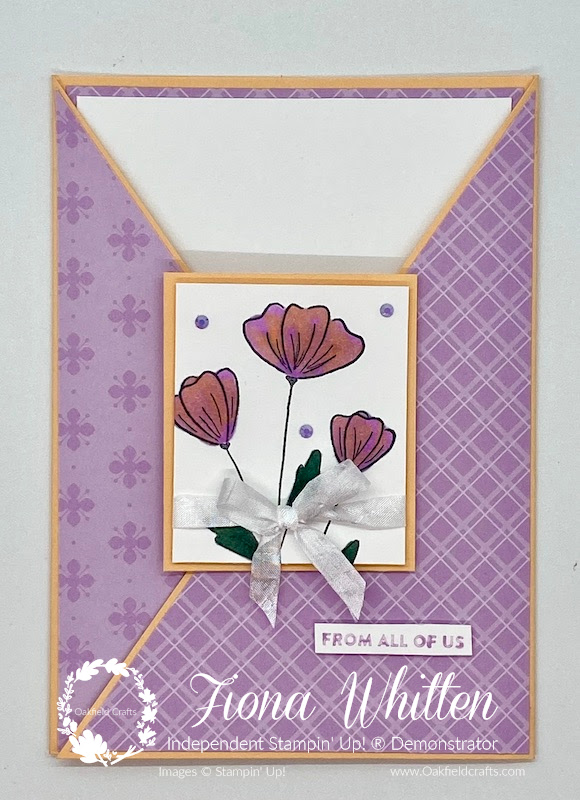
Portrait criss cross cards
- Coloured Card Stock (I used Pale Papaya) – 2 lots of 14.9 x 21.0 cm both pieces scored and folded in half at 10.5 cm
- First piece – cut diagonally from top of score line to bottom right corner.
- Second piece – cut diagonally from top of score line to bottom left corner.
- Adhere one inside the other so that the two points are on the outside – make sure that you keep within the score line so that the card can be folded.
- Double-sided paper (I used Fresh Freesia)
- 1 lot of 10.0 x 14.4 cm for glueing inside the card
- 1 lot of 9.5 x 14.4 cm which is then cut diagonally. Each triangle is then glued to the triangles that fold over to create the card front. Note – you will need to use the reverse side for one of the triangles.
- Basic White card stock
- 1 lot of 9.5 x 13.9 cm for inside the card
- Additional card stock to create focal point for the front of the card.
If you would like to see more on how to make these cards, check out my YouTube Video.
The supply list for the cards is as follows
If your order is less that £150, don’t forget to use this month’s (May 2021) host code – 3NVFAEJM and receive a special thank you from me.
Spending more than £150? Don’t use the code because you will have your own rewards to spend. This means you can order extra products for free from the current catalogues or clearance rack.
Alternatively, if spending more than £99 why not join the Crafting Acorns and receive a discount on your future orders. Joining during May means that you can select £154 worth of new product – that’s £24 more than the normal great offer. Contact me by emailing to fiona@oakfieldcrafts.com for more information or visit HERE.
Happy stamping
Fiona xx
Other ways to shop and save this month
Bundles – Bundled items save you 10%.
Clearance Rack – There’s always bargains to be had here.