Today’s post features a way to use up all those scraps of Designer Series Paper that you have been hoarding because it’s too pretty or just too “useful” a size to throw away.
I seem to accumulate lots of scraps from when I’m doing all my preparation for classes or Card & A Cuppa and I put some of them to good use making the following.

I used the Tailored Tag Punch to punch out the shapes from my scraps. You only need 12 for each card because some of the shapes overhang the edge and the pieces cut off can be re-used elsewhere on the card.
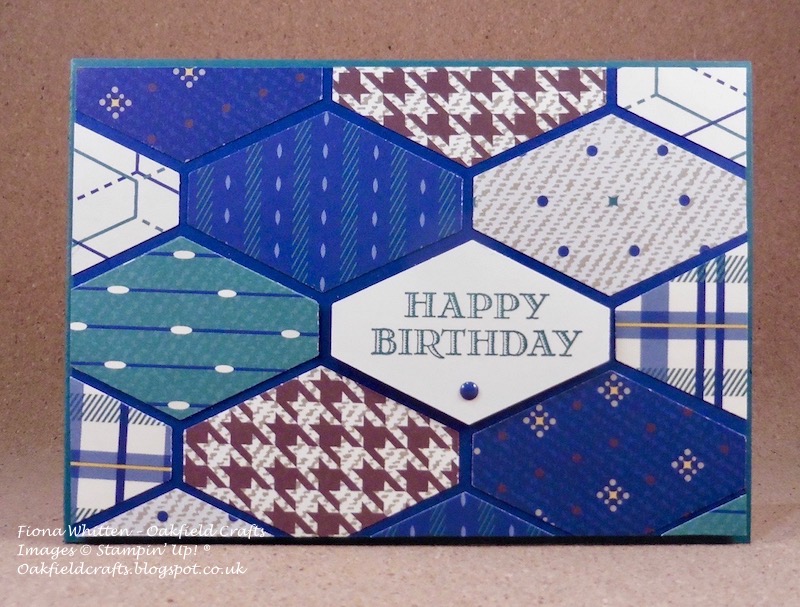
The sentiment comes from the Big on Birthdays stamp set. And making the card is really easy. Instructions are as follows –
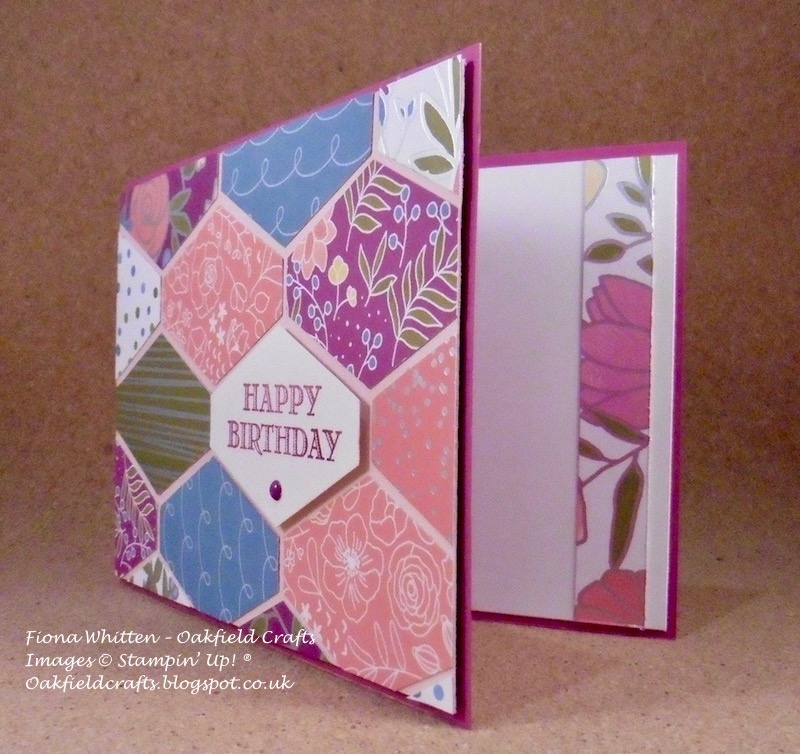
1. Make the card base from a 10.5 x 29.7 cm (A4 cut in half along it’s length) piece of your chosen cardstock. I used Tranquil Tide for the one above and Berry Burst for the one below. The cardstock was scored and folded at 14.9 cm.
2. Cut a piece of card measuring 10.0 x 14.4 cm that complements the Designer Series Paper and base card colour. I used Night of Navy for above and Powder Pink for below.
3. Stamp sentiment onto a scrap of cardstock (Very Vanilla above, Whisper White below) using inks the same colour as the base card and punch out using the Tailored Tag Punch.
4. Punch out your Designer Series Paper using the Tailored Tag Punch. True Gentleman above and Sweet Soiree below.
5. Adhere the sentiment tag to the 10.0 x 14.4 cm layer using re-positional tape (non Stampin’ Up!) or use a dot of Multipurpose Glue and leave to dry a little until tacky. I found that adding this element first helped me to figure out the spacing and what punched pieces I wanted where.
6. Adhere the punched Designer Series Paper using Multipurpose Glue leaving an equal gap (so you can see the cardstock underneath) around all the sides.
7. Cut off the excess paper and use these pieces to fill in any spaces you may have left.
8. Peel off the sentiment and adhere back in place using Stampin’ Dimensionals.
9 Add the punched/glued layer to the card front using Stampin’ Dimensionals and then add an enamel shape just under the sentiment. I used a dot from the Regals Enamel Shapes.
10. Decorate the inside of the card with a 10.0 x 14.4 cm piece of card (same colour as used for the sentiment tag) and add a strip of the same Designer Series Paper.
I hope you have enjoyed seeing these cards. You can of course replicate this any idea with other punches or dies that you may have, but if you would like to purchase any of the supplies I used you will find the details below.
Happy stamping.
Fiona xx
Ways to shop and save this month
Use the Oak Leaf Club Code – RYRCQGNC when checking out of my online store and receive a free gift from me
Sale-A-Bration – Free product with every £45 spent. No limits.