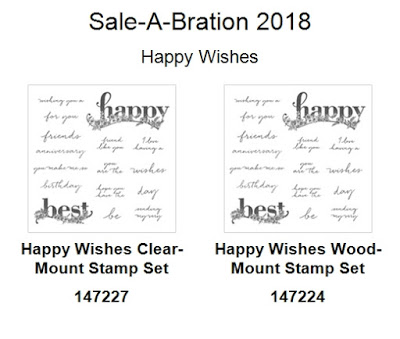
The gorgeous Happy Wishes is one of the choices in this year’s Sale-A-Bration Catalogue. It can be yours for free with a £90 order and will only be available until 31 March 2018.
A quick recap of the Spend & Earn option for Sale-A-Bration is as follows –
- Spend £45 (before P&P) and you get to choose a Level 1 item
- Spend £90 (before P&P) and you get to choose a Level 2 item or two Level 1 items
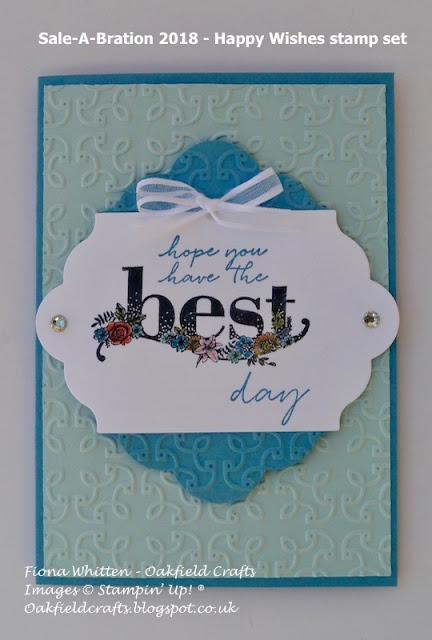
For this card, I used Black Archival Ink for the image because I wanted to use my Stampin’ Write Markers to colour the flowers etc.
TIP – make sure you leave the ink to dry before starting on your colouring. It takes a little while to dry, so I would suggest you stamp first and then make a start on the rest of the card and then come back to colour later.
My card base is Marina Mist and the embossed cardstock is Soft Sky for the large panel and Marina Mist again for the die cut shape. The Marina Mist card for the embossed part was –
- Die cut first, and
- then trimmed a little so that it was the exact same width as the Whisper White piece (they are at 90° to each other)
- then cut it in half, and
- both pieces were then embossed so that the same pattern would show both top and bottom.
- Lastly, both pieces were glued to the back of the Whisper White die cut piece but only after the image had been stamped and coloured.
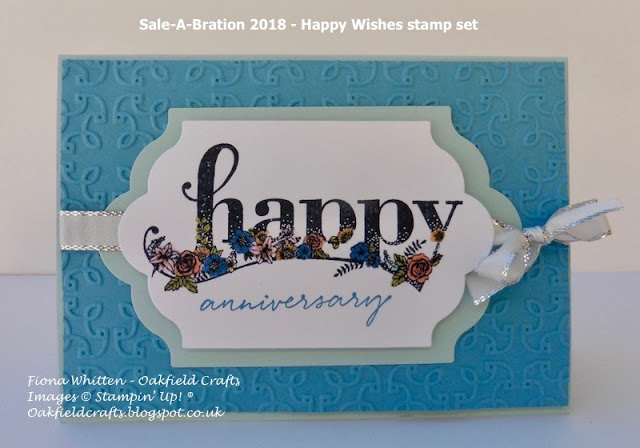
This second card was coloured using Stampin’ Blends rather than Stampin’ Write Markers. When using the Stampin’ Blends you want to use the Tuxedo Black Memento Ink and you also want to stamp on Thick Whisper White too. This is because the Blends are alcohol markers.
The Tuxedo Black ink dries faster than the Archival Black but I would still suggest you stamp first and then go ahead and cut and emboss the rest of the card while the image is drying and then do the colouring.
The card base for this anniversary card is Soft Sky and the embossed layer is Marina Mist – effectively the reverse of the first card. My TIP for this card is to stamp the image and wording first and then die cut them out. That way you can be sure that the large wording is centred correctly.
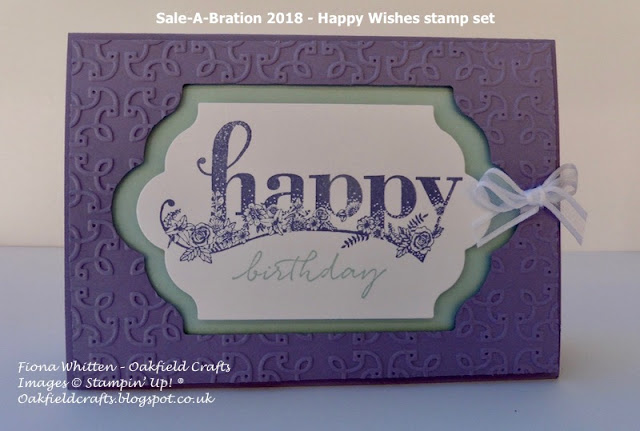
Of course you don’t need to colour the flowers etc on the large sentiment. It looks just as gorgeous stamped in one colour. For this next project I chose a Wisteria Wonder and Soft Sky combination.
Again, you want to stamp the large sentiment and additional words before die cutting it out.
My TIP for this card is that you want to die cut the Wisteria Wonder layer before embossing it. If you do the reverse you will simply flatten the pattern when running it through your Big Shot again, or whatever die cutting machine you use.
The embossed layer and the Whisper White die cut sentiment are popped up on Stampin’ Dimensionals and the Soft Sky piece is simply glued to the Wisteria Wonder card front.
Want the stamp set but not sure what to order? Help is on hand. These are 3 options which include items to make the cards above.
Option 1 – Stampin’ Markers
Option 2 – Stampin’ Blends
Option 3 – Inks (with Blender Pen colouring option)
These are of course just suggestions, and if you would prefer to use a different colour collection eg. Brights or Regals instead of Subtles that is totally up to you.
One final thing. Here’s a link to the Stampin’ Up! video that has more ideas and suggestions on what you can do with the Happy Wishes stamp set.
Happy Stamping.
Fiona xx


