On Thursday I shared a box that I had made to hold 6 Note Cards with their envelopes. This post kind of a follows on from that, and all will become clear as you read on! It also follows on from March’s classes. This month everyone received a whole pack of the Painted Blooms Designer Series Paper as part of their class kit. I’ll share some of the class projects with you later this week, but in the meantime I want to share one of the project ideas that I sent them home with.
There are a lot of One Sheet Wonder Ideas on the internet and more specifically Pinterest. This was one that I found by Mae Collins. You can check out her blog post from back in 2008 here.
I made a couple of changes to my version but this a photo of the 12″ x 12″ Whisper White Cutting Guide that everyone received in their kit.
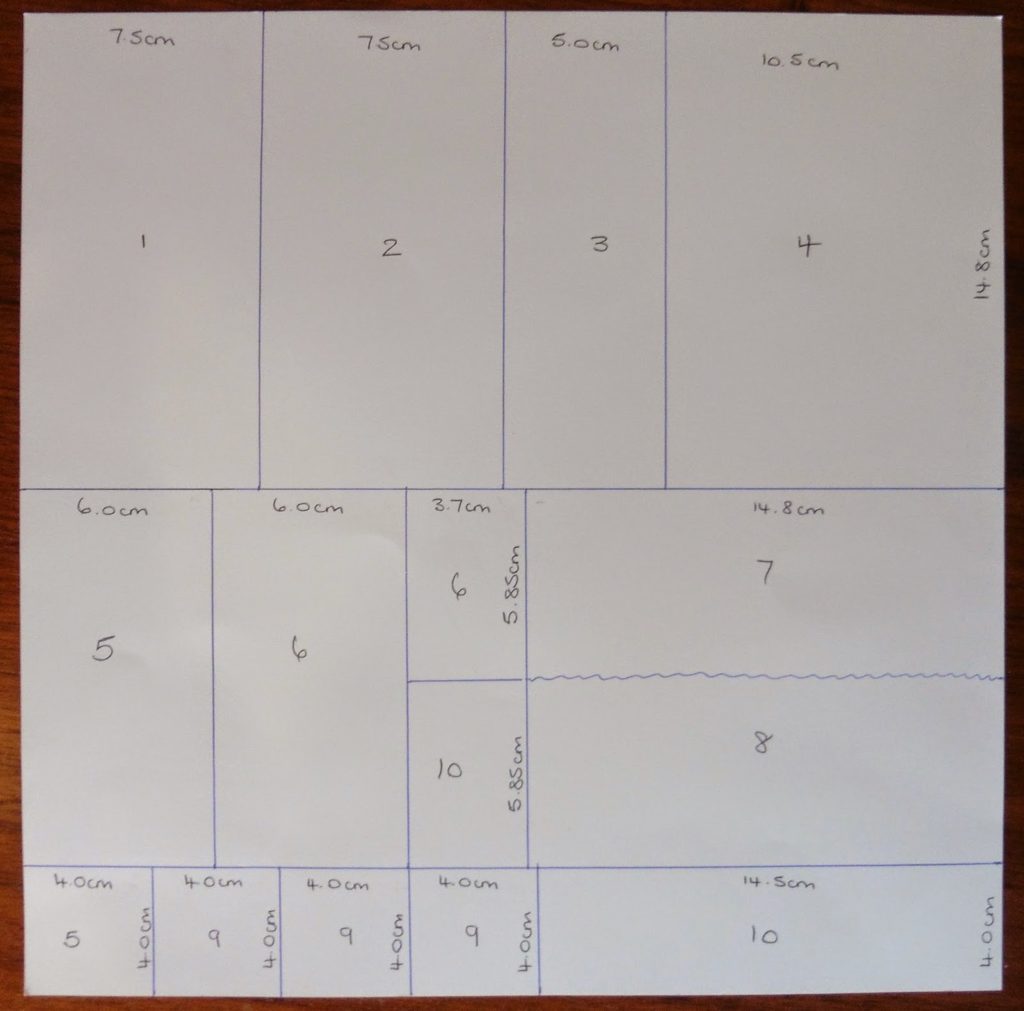
Tips for this one sheet wonder
- When cutting up your Designer Series Paper, cut the 2 lines that go right across the paper first. The first is 14.8 cm from the top and the second is 4.0 cm from the bottom.
- Once you have your three strips then cut them into the smaller pieces. Remember to mark on the back the appropriate numbers!
- The wiggly line between the pieces for cards 7 and 8 is a suggestion. I used my Small Scallop Rotary Cutting Blade and the Rotary arm on my Stampin’ Trimmer, but you could simply cut these two pieces in two using a straight blade or something like the Large Scallop Edgelit.
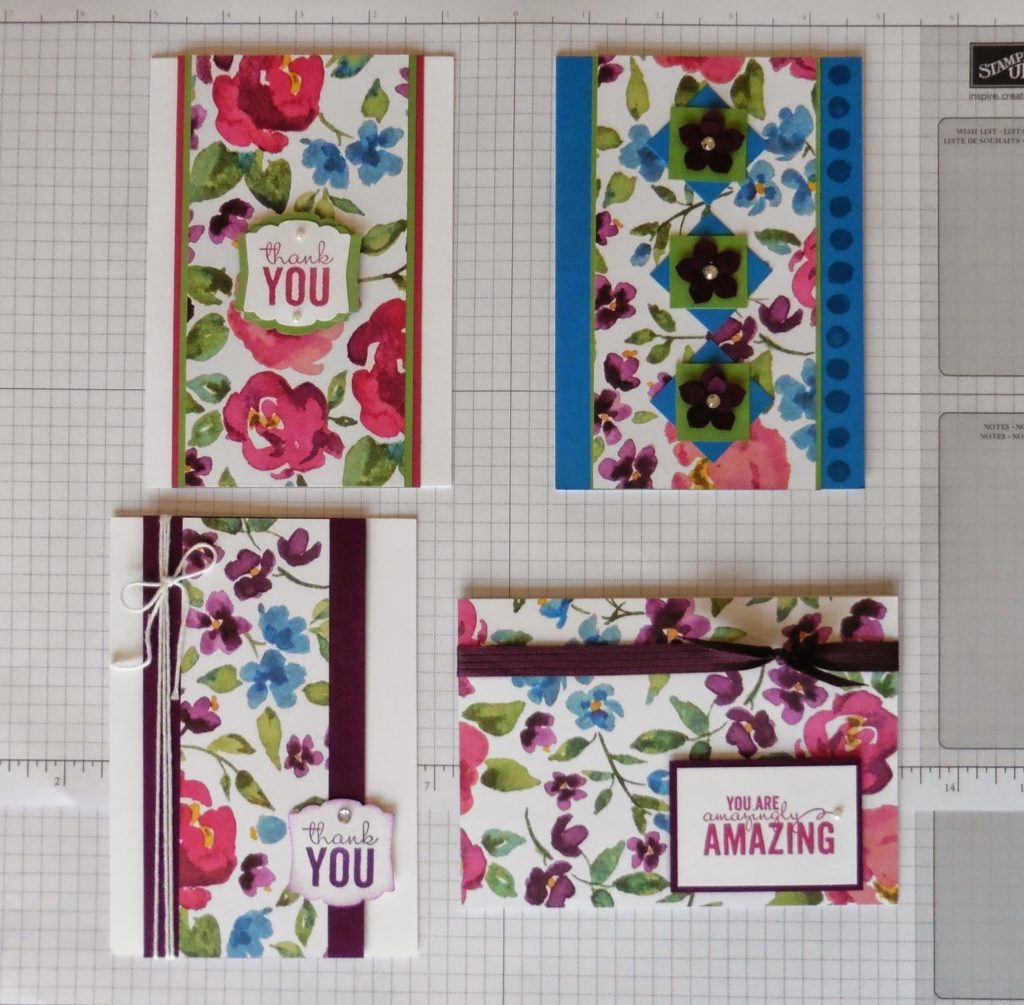
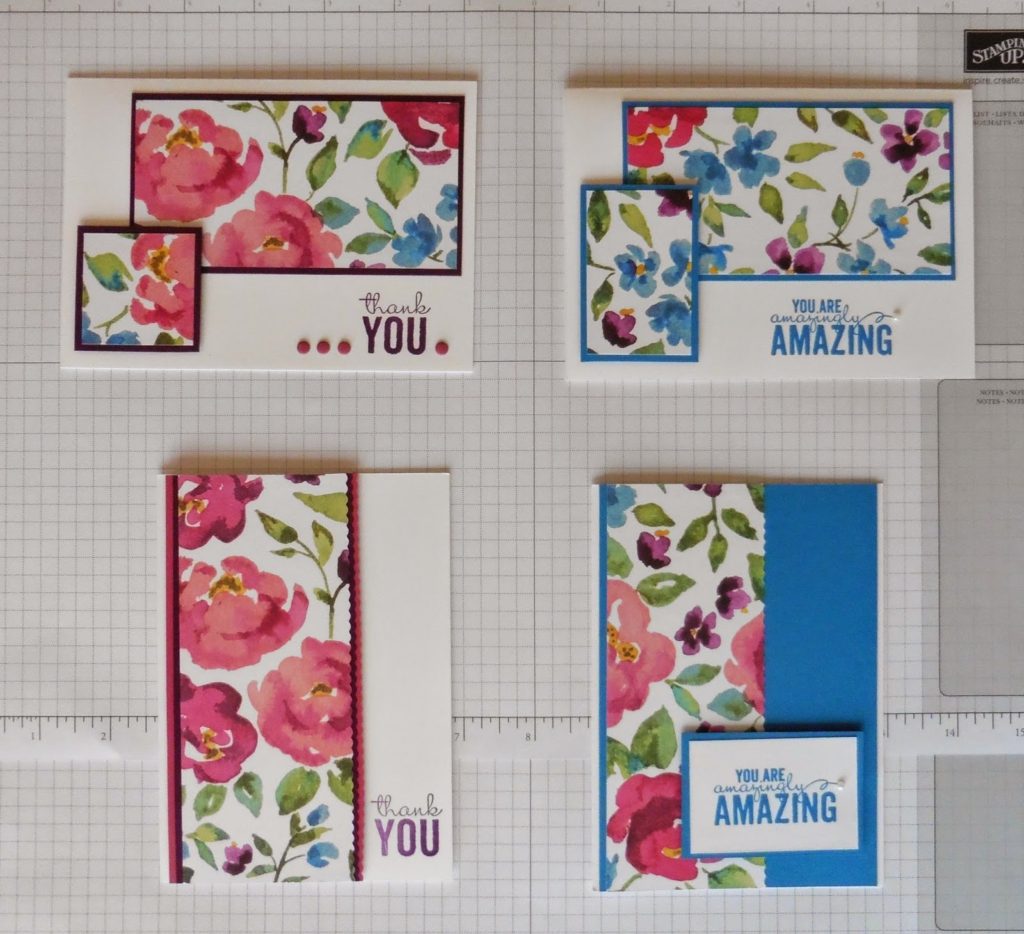
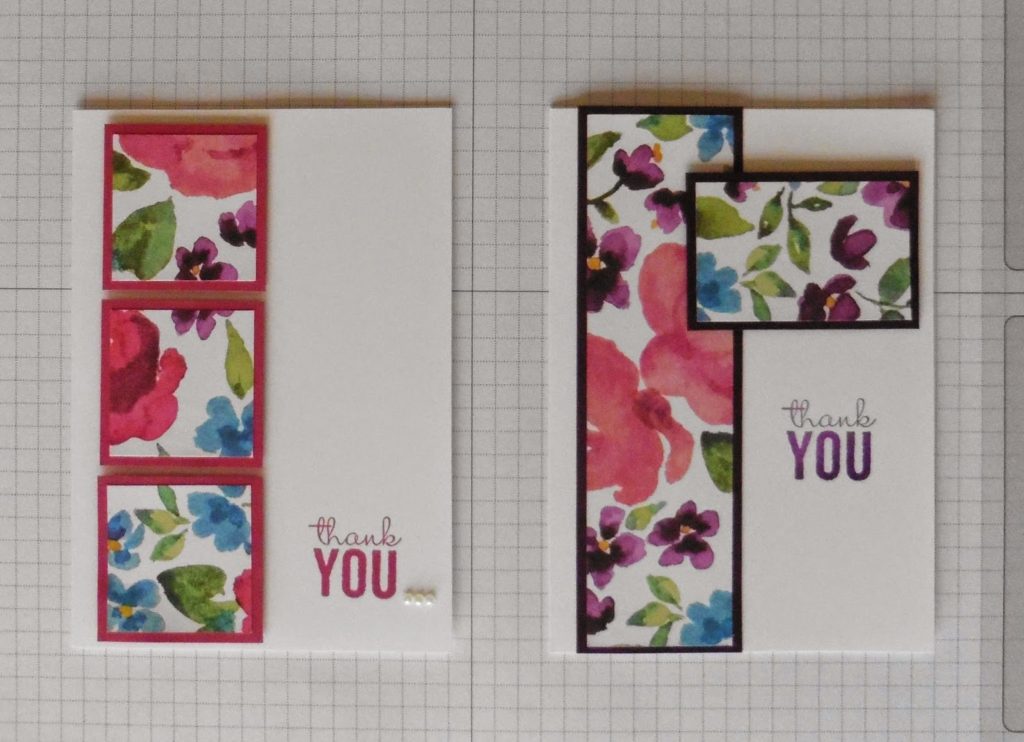
Here are the 10 cards that I made. I used the greetings from the Painted Petals stamp set and card stock that co-ordinates with the Painted Blooms DSP ( Blackberry Bliss, Pacific Point, Rose Red, Wild Wasabi and Whisper White). The large numbers on the Cutting Guide relate to the number of the card.
Once the cards were made I thought it would be a good idea to make a box to hold them.
The box does virtually take up a whole sheet of 12″ x 12″ Designer Series Paper – actually you cut it to 10-1/2″ x 10-1/2″. Using the Envelope Punch Board, make the scores and punches on the first side at 3-1/2″ and 5-7/8″ (because there are no marks over 5″ on the board you should punch from the reverse side at 4-5/8″ and then turn back over, line up the punched part and then score). Once the first side is punched and scored the box is made up as per the instructions that I posted on 5 March.
I finished off my box with a piece of White Jute Ribbon as I wanted to keep it simple.
The box is large enough to hold all 10 cards with their envelopes (they peek out a little from the top) and would I think make a great gift for Mother’s Day or any other event for that matter.
I hope you like this project and I would love to hear how you get on with yours.