Alarming as it may seem, I have to confess that I do not have the Blended Bloom stamp that is featured on today’s project!
A friend and fellow Stampin’ Up! demonstrator, Jenny, does and the other day I visited her for a coffee and a quick crafty session. Jenny made a really cute card with her stamped image but I just sneaked a couple of stamped images and came home to play with my Blendabilites.
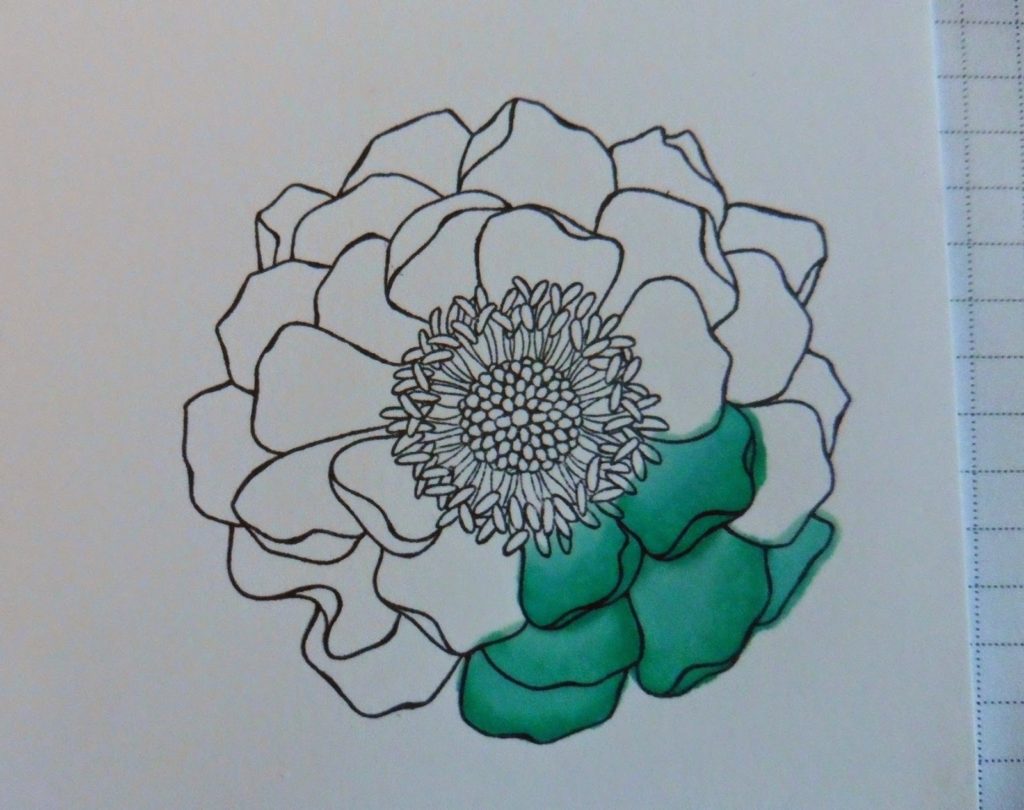
This is what I made with one of the images.
I thought I would share with you some of the do’s and don’ts for the Blendabilites (or Blendibobs as some of my friends who are also demo’s call them).
- Remember to stamp your image using Memento Ink. This ink works best with the Blendabilites and will not bleed.
- Colour the image a little at a time – the Blendabilities are alcohol based markers so the ink dries quickly and it is easier to blend when it is wet. I did no more than two petals at a time.
- Use the darker pen first and then move to the lighter (Medium and Light). This is a personal preference. I have seen other Stampin’ Up! demonstrators do the complete opposite.
- I used the brush tip to colour and the smaller tip to blend.
- Blend in a small circular motion and don’t be surprised if there is a lot of squeaking going on – this is a good thing. I blended the medium colour into the dark one and then blended all over with the lighter pen.
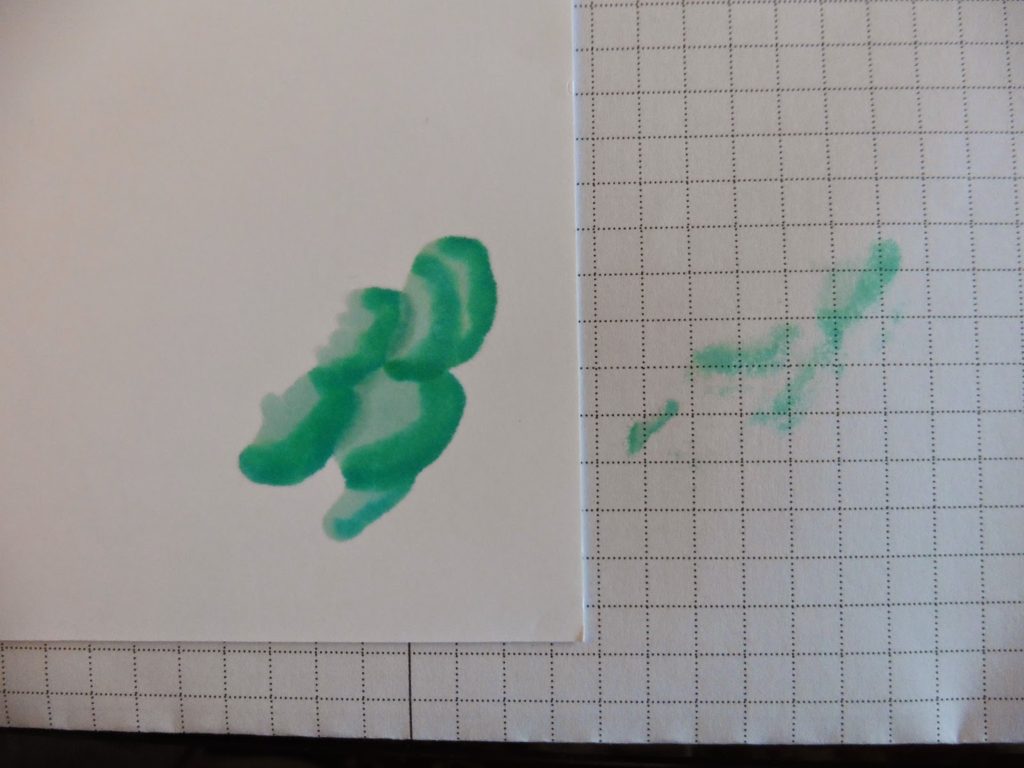
- Make sure that you have placed your image on a couple of layers of scrap paper, the underside of the image is not going to look pretty and ink will bleed through.
- Replace caps back on the pens at all times if you are take a break – you do not want the pens to dry out. See below for instructions. Store the Blendabilities horizontally and not on their ends.
- The underside of the blended image should look like this (see photo below) – if it does not then you have not blended enough.
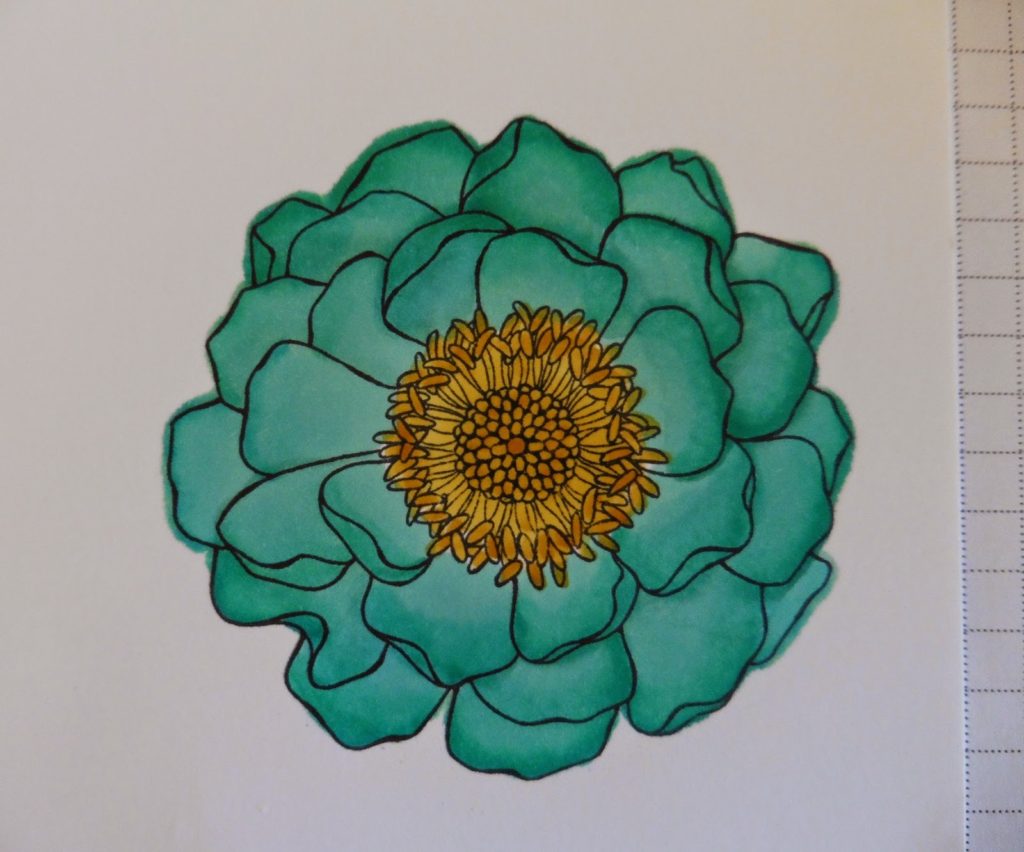
My finished image looked like this
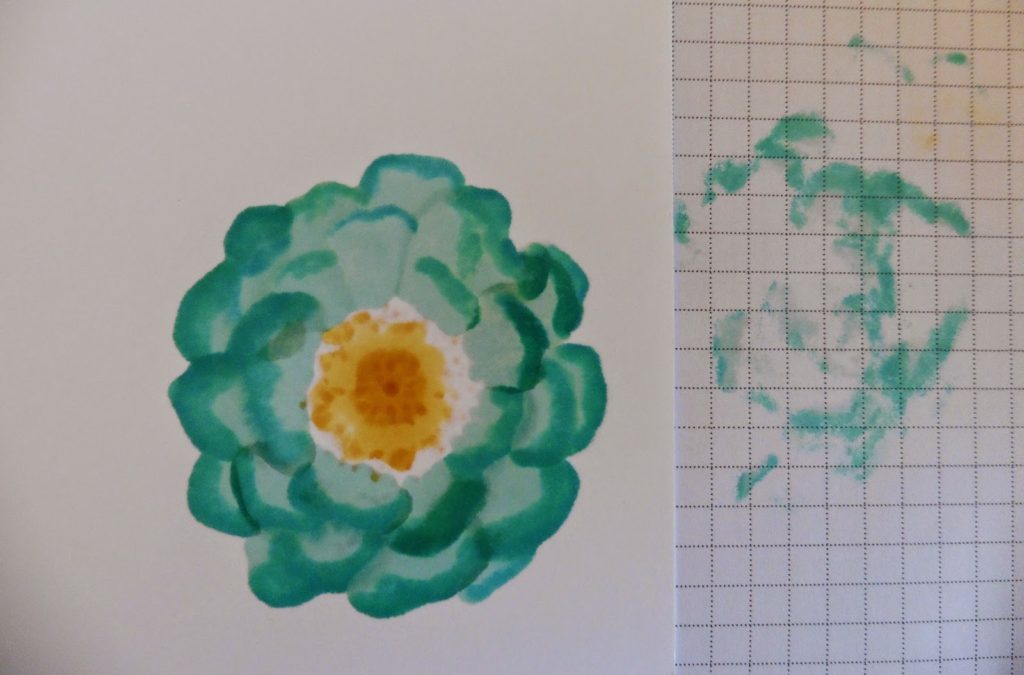
And this is what the underside looks like. As I said, not a pretty sight.
You will notice that there are some areas in the centre where the ink has not come though. This is because I used the Blendabilites to simply colour the stamens and did not blend them them all.
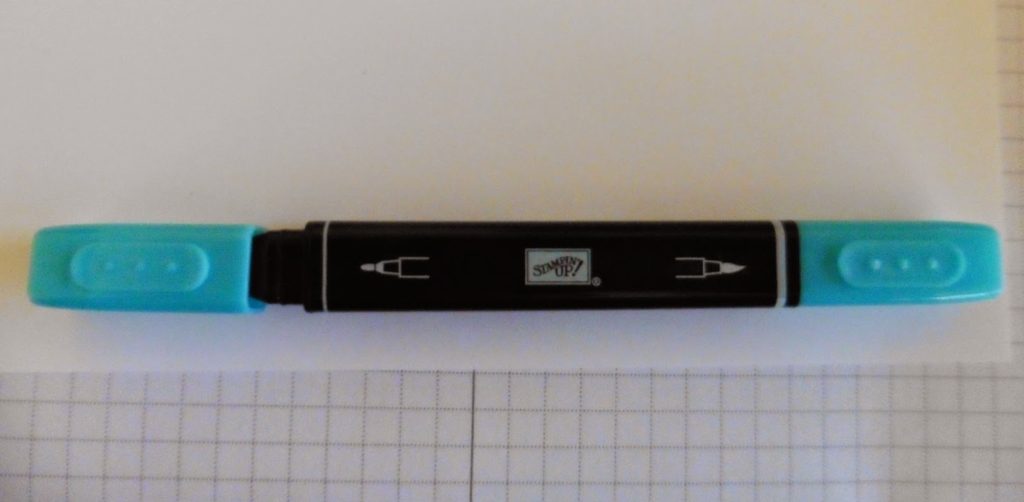
Putting the pens lids back on is a little tricky – the lids are very tight and it is important to do it correctly to ensure that the tips do not get damaged. The easiest way is to lie the pen flat on the table with the Stampin’ Up! logo at the top and then align the lid, making sure that the three dots in an oval are also at the top, and then slide the two together. Sorry if I’m teaching you to “suck eggs” but it’s important to get this right as the pens are not square and forcing the lid on the wrong way round will simply damage the pen in the process. Once you have done it a couple of times it becomes second nature.
So, what did I do with that second image? This.
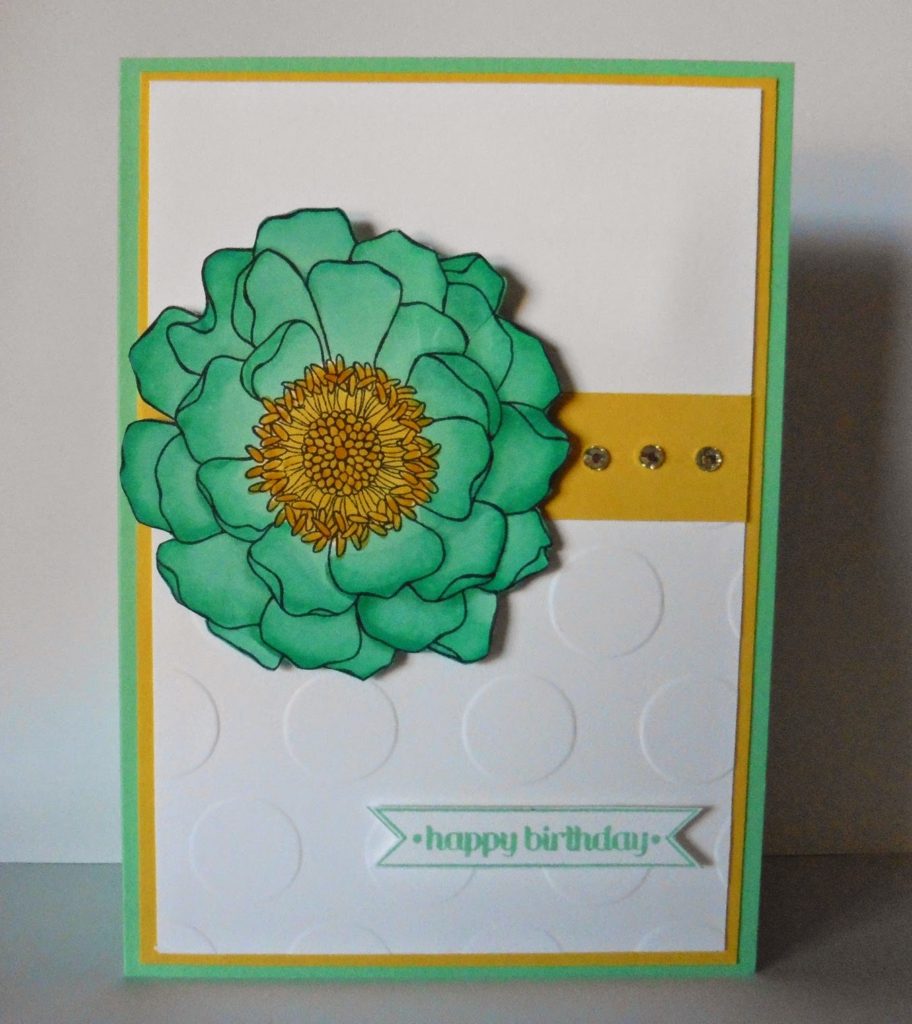
There’s quite a bit of fussy cutting going on to cut one of these blooms, but popping it up on dimensionals gives a lovely effect.
The products used to make these two cards are:


I have one more image to play with that I’m saving for another day. But, I have to admit that I am tempted to purchase the stamp for myself so that I can try it my Blender Pens or an Aqua Painter. Time will tell.
Very stylish Fiona
Thanks Dawn. I have to admit that the colouring is very theraputic. Just need to stay inside the lines a little better.