It seems ages since I posted but it’s only been a week. Things have been busy over the last week – I spent three days in Chicago with my son, Michael. We had to go there because he had to attend orientation at the university he will be going to come September. Orientation was a two day experience (compulsory for the kids) and parents also get to visit and find out more about the university too (not compulsory for parents). It was an interesting experience, so different from the one I attended with Jenny last year.
I’m now in San Diego and things are slowly getting back to “normal”, not that there’s much normal in our household.
Since arriving in San Diego, I have managed to finish a couple of samples for the tutorial that should post this evening.
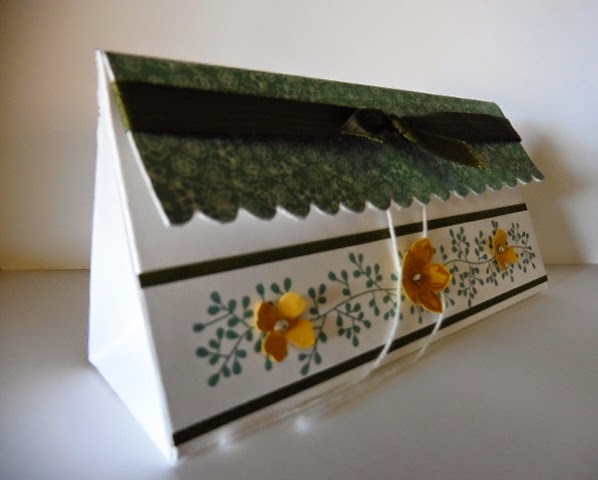 |
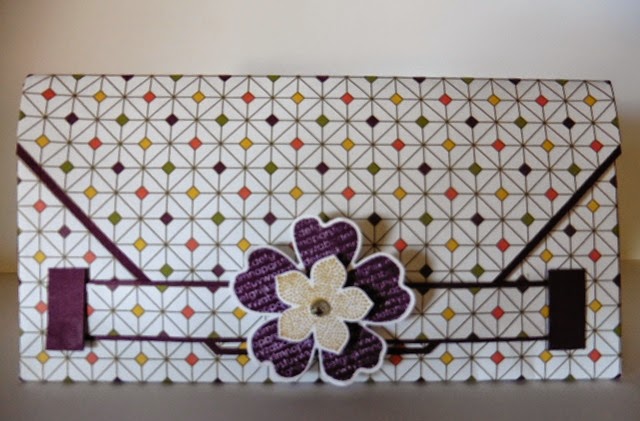
The tutorial is based on the box above but I also made another version with a sheet of Designer Series Paper. They are identical boxes made using the same dimensions, just different materials. The box above was made using Whisper White card stock and then decorated. The box below has less by way of decoration because I used Designer Series Paper.
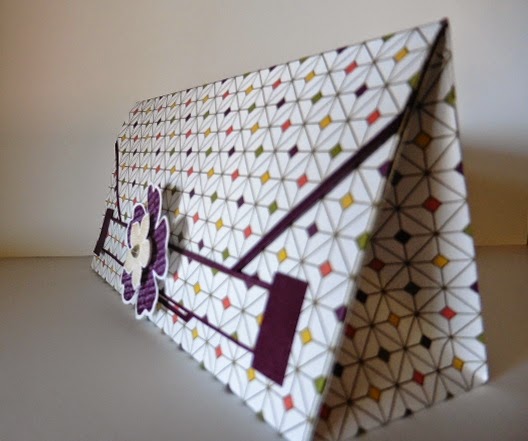 |
| From the side |
 |
|
| From the front |