Friday night was training night and I hosted this in my Craft Studio. Along with the business talk there was lots of fun and laughter and I also designed a little Make ‘n’ Take for people to make.
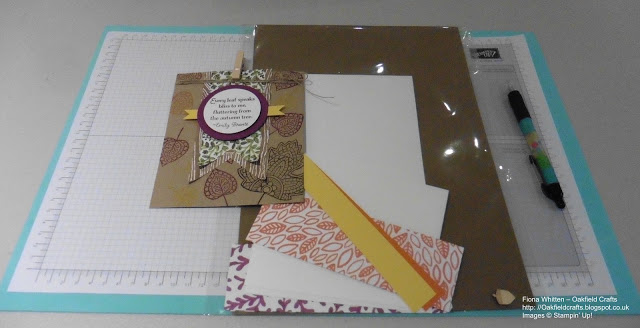
I totally forgot to talk a photo of everyone (we were having too much fun) but here’s a photo of one of the places – a little gift and the cello bag containing all the bits for the Make n Take.
The tip I wanted to share is the blue foam mat that you can see under the grid paper (blue is not compulsory). My lovely demo friend in the USA, Cynthia McQueen, passed this tip onto me.
As I am sure most of you are aware, you get the best stamping results from Photopolymer stamps when you have a foam mat underneath. I have been using my Paper Piercing Mat but this is bulky, and you need to be extra careful if you have placed it under the grid paper when you are stamping an image off the edge of your cardstock. The foam sheet measures 12″ x 18, so it is large enough to go under all the of the grid paper and works a treat with not only the Photopolymer stamps but also the Wood Mount and Clear Mount stamps too. This means that there is no need to remove it when using different types of stamps. I’ve even tried it when stamping with large stamps such as the Swallowtail stamp, and it does help to distribute the pressure better but it still does not work well on my craft table as it’s just too bouncy.
I came back from the USA with 12 of these mats in Coastal Cabana (blue) and Melon Mambo (pink), and they are now a permanent feature on my craft tables.
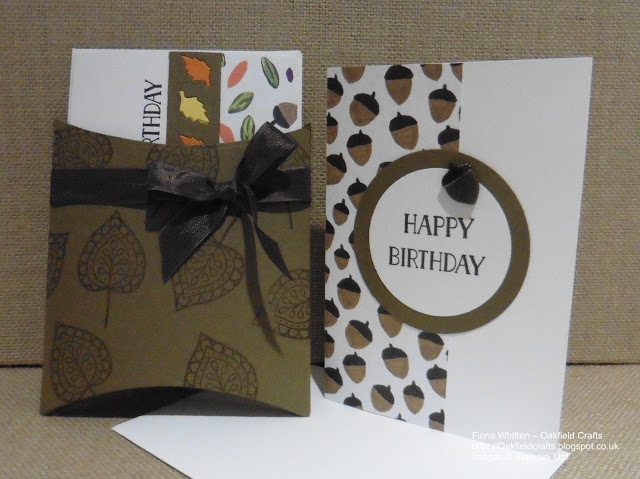
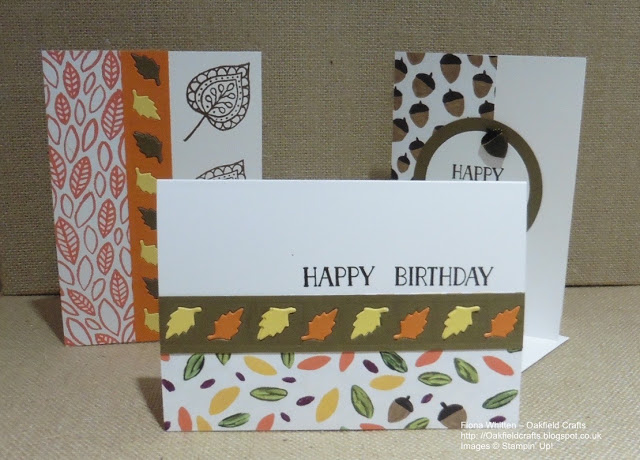
Just in case you are wondering what Friday’s Make ‘n’ Take was, here’s a quick look.
The pouch was made using the Square Pillow Box Thinlits Dies and one sheet of Soft Suede Cardstock. It’s large enough to hold three Note Cards along with their envelopes.
The full list of supplies used to make the box and cards is as follows:
I’ll be posting instructions for making the box in the tutorials later in the week as I’m currently working on a new design for it and some cards to go inside.


