Welcome to the latest Stampin’ Stars Blog Hop. We are celebrating the release of the 2014 Annual Catalogue and would love to share with you some of the projects that we have made using some of the fabulous new products.
I’m not sure if you have hopped here from the lovely Cat’s blog or if you are just starting here. Mind you, I guess you could have hopped back from Lesley’s fabulous blog. Either ways welcome, you are in for a treat.
I would suggest you make yourself a drink, find somewhere comfortable to sit and then relax and enjoy yourself hopping around. Don’t worry, the posts will be here for sometime. And, once everything is up and running I will be popping back here to add the permalinks so you can pop back at anytime and go check things out at your leisure.
You will have probably figured out by now, that the fabulous 2014-2015 Annual Catalogue went live today. My order is placed and I can’t wait to get my mitts on the items that will hopefully be on their way to me in the next few days. I do have my sneak peek goodies and today’s project has been made using some of them.
The big, big problem was what to make. I have to admit that it took me quite some time to decide. In fact, it took me longer to decide than it took to make it! Anyway, this is what I came up with and I have to admit that I’m very happy with it. I only wish that the weather was better, so that I could have taken better photos. Oh well, we can’t have it all.
 |
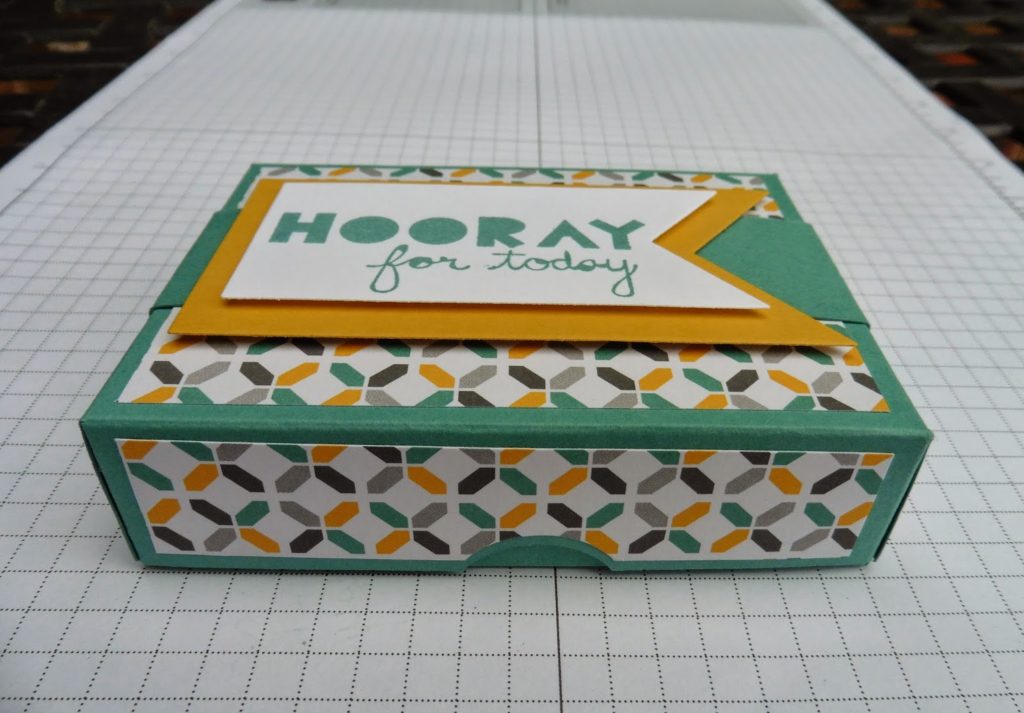
| The whole of the outside view – the box measures 10.0 cm x 7.5 cm x 2.5 cm (4″ x 3″ x 1″) |
 |
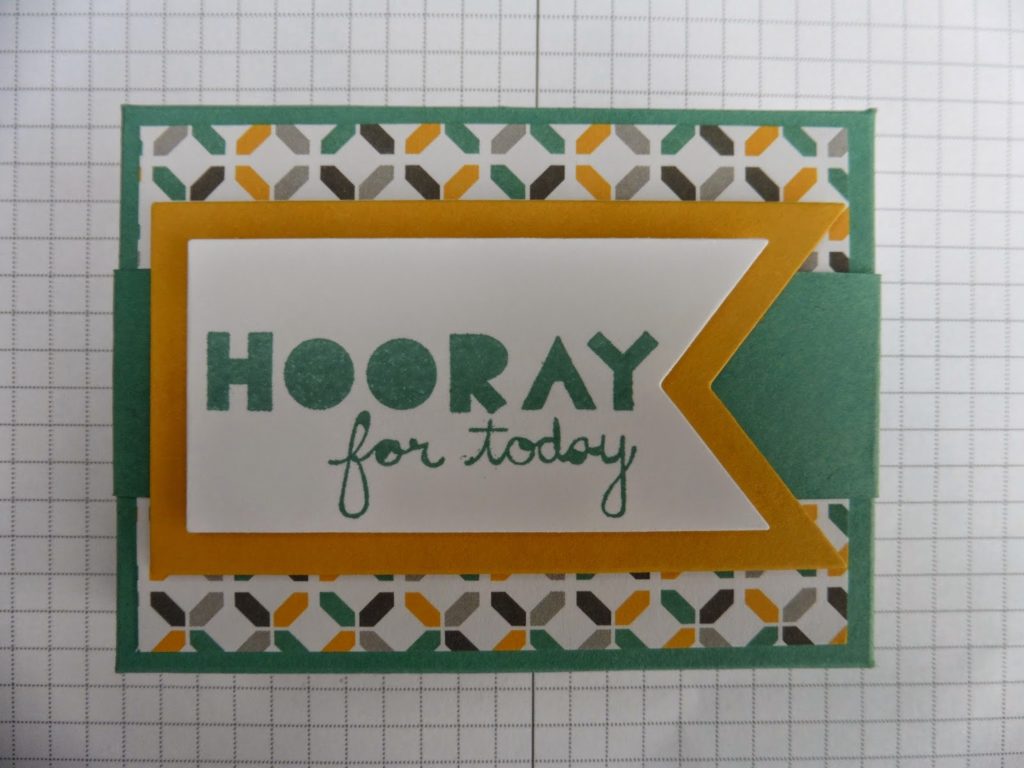
| View from the top – I decided to put a belly band around it to keep the contents inside |
 |
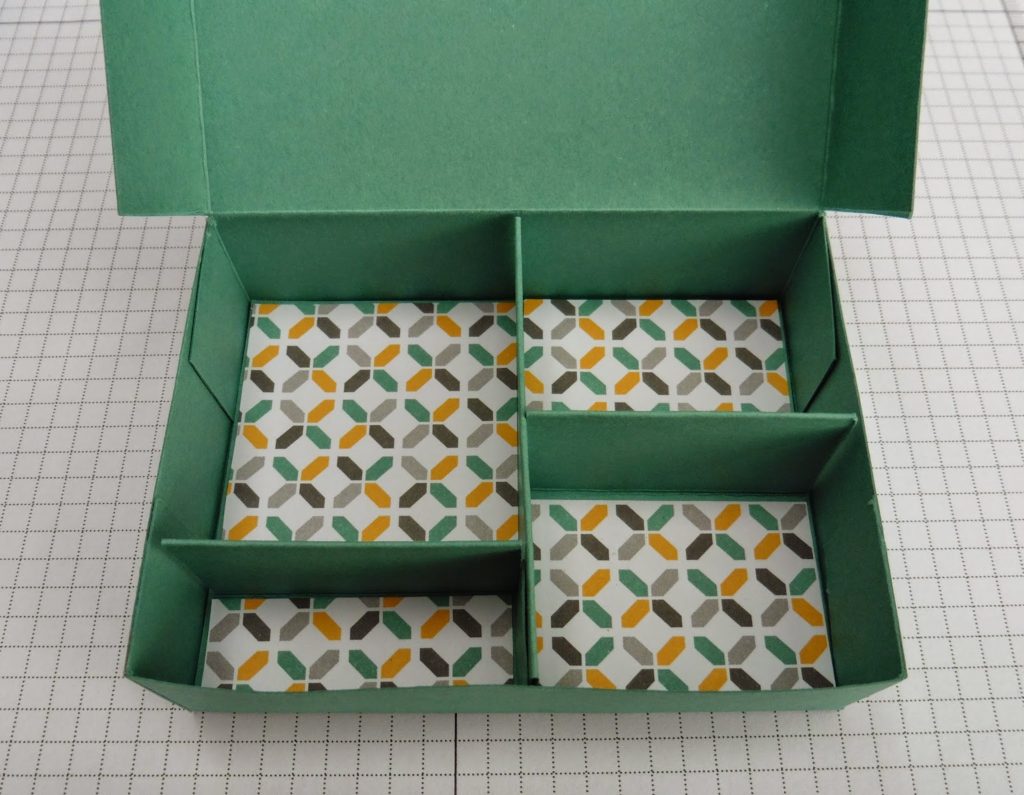
| Inside view without the contents – finished off with the same DSP from the outside |
 |
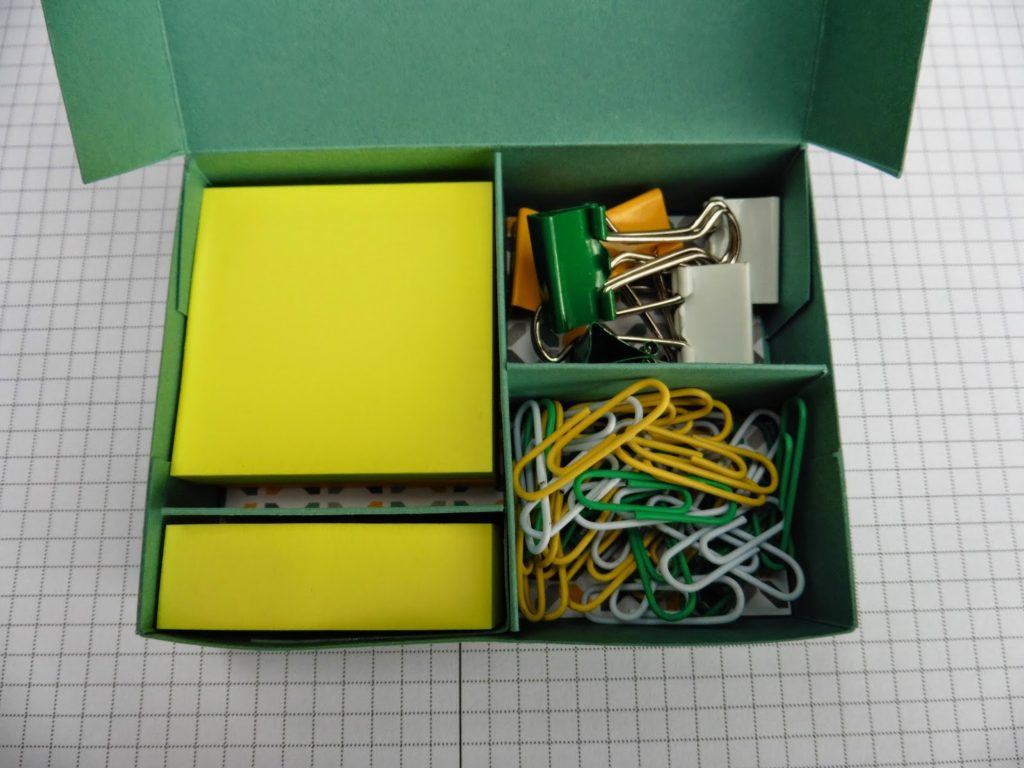
| Inside view with contents – colour co-ordinated to match the DSP of course |
You are able to make the whole box out of one 12″ x 12″ sheet of card stock but if you only want to make the box (no belly band or spacers inside) you could easily make it out of an A4 sheet.
Stampin’ Up! products used:
Stamp set : Geometrical
Ink : Lost Lagoon (new In Color)
Card Stock : Lost Lagoon, Hello Honey (both new In Colors) and Whisper White
Designer Series Paper : Moonlight Paper Stack
Accessories : Stampin’ Trimmer, Red Sticky Tape, Banners Framelits and Dimensionals
I hope you like my project. I will be adding instructions on how to make this to my Tutorials (see tab at the top of this blog) later in the week. In the meantime click on the button below and be taken to Lesley’s fabulous blog.
Oh, before you do disappear please feel free to leave a comment. I would love to hear what you think.
If you want to hop back and check out Cat’s blog then click on the button below.
If you get lost hopping around or if you find that one of the links is broken (hope this doesn’t happen) then pop back here and check out the full list of those taking part.
– The Sticky Elf
Crafty Hippy
Crafty Carousel
Diamond Stamping
Crafty Little Minx
Too Crafty Jo


Thank you for all your kind comments. Tutorial being worked on and will be up soon.
Really like that box Fiona and as always you manage to make a stampset that I wouldn't look twice at look great! Tutorial please 🙂
Great project – where was this when I tidied my desk at the weekend!! Nikki xx
Love that box, it looks so good!
Great box looking forward to the instructions 😁
Great idea Fiona!
Fab colour combo which gives it such a wow factor
Beautiful Box Fiona…can't wait for the Tutorial! xxx
I NEED to make one of these , it's great. Christine x
Love it Fiona!! xxx
Love the colours!
super project Fiona, love it and can't wait for the tutorial. xx
I love your box Fiona, from the FAB (I love it) colour palette to the useful interior!x
Love the box
So clever!